![horizontal - blue-1.png]](https://troubleshooting.proteusmotion.com/hs-fs/hubfs/Logos/horizontal%20-%20blue-1.png?height=40&name=horizontal%20-%20blue-1.png)
Learning to attach and remove the handles correctly is key to safely operating Proteus.
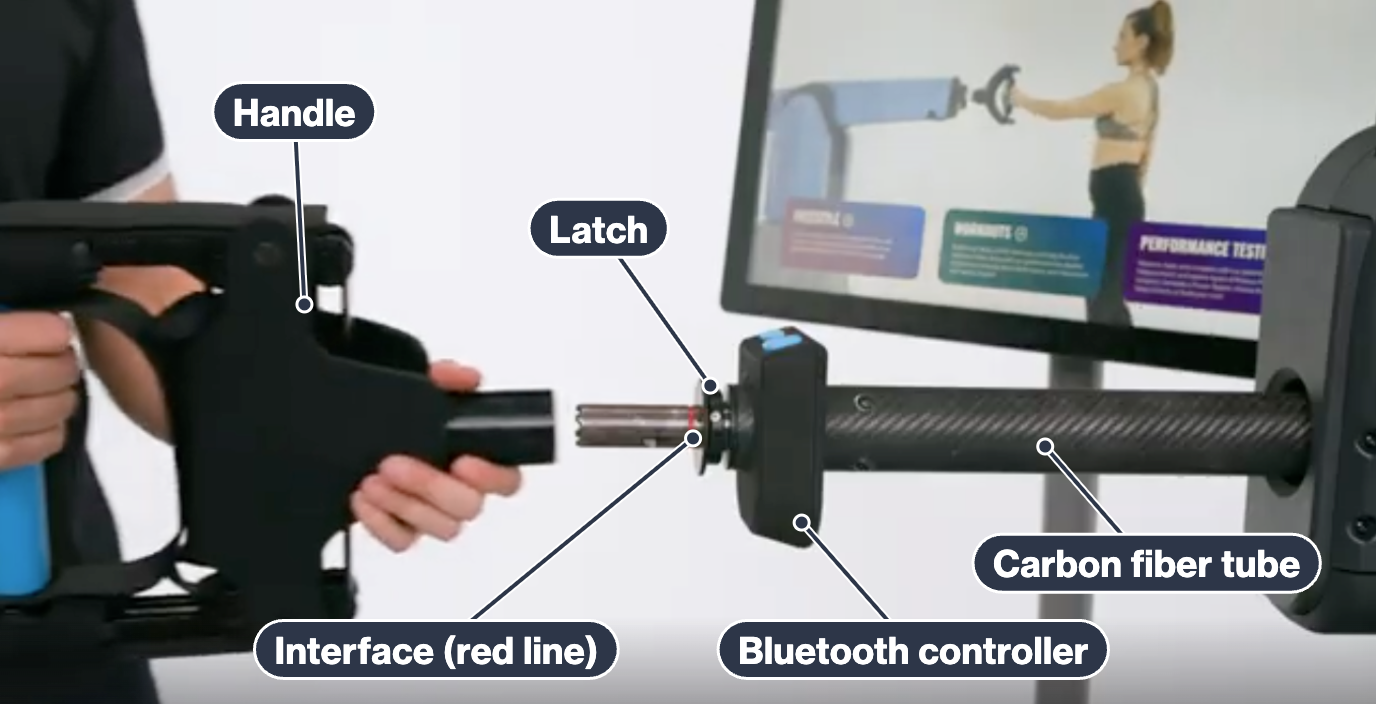 Before every use
- Confirm the handle is securely attached.
- Pull the handle and the carbon fiber tube away from each other to test the lock. If it's not locked, reattach.
- DO NOT use the Bluetooth controller as a stabilizer.
Attaching a handle
- Push the handle onto the interface until it reaches the red line. You will hear and feel a click if done correctly.
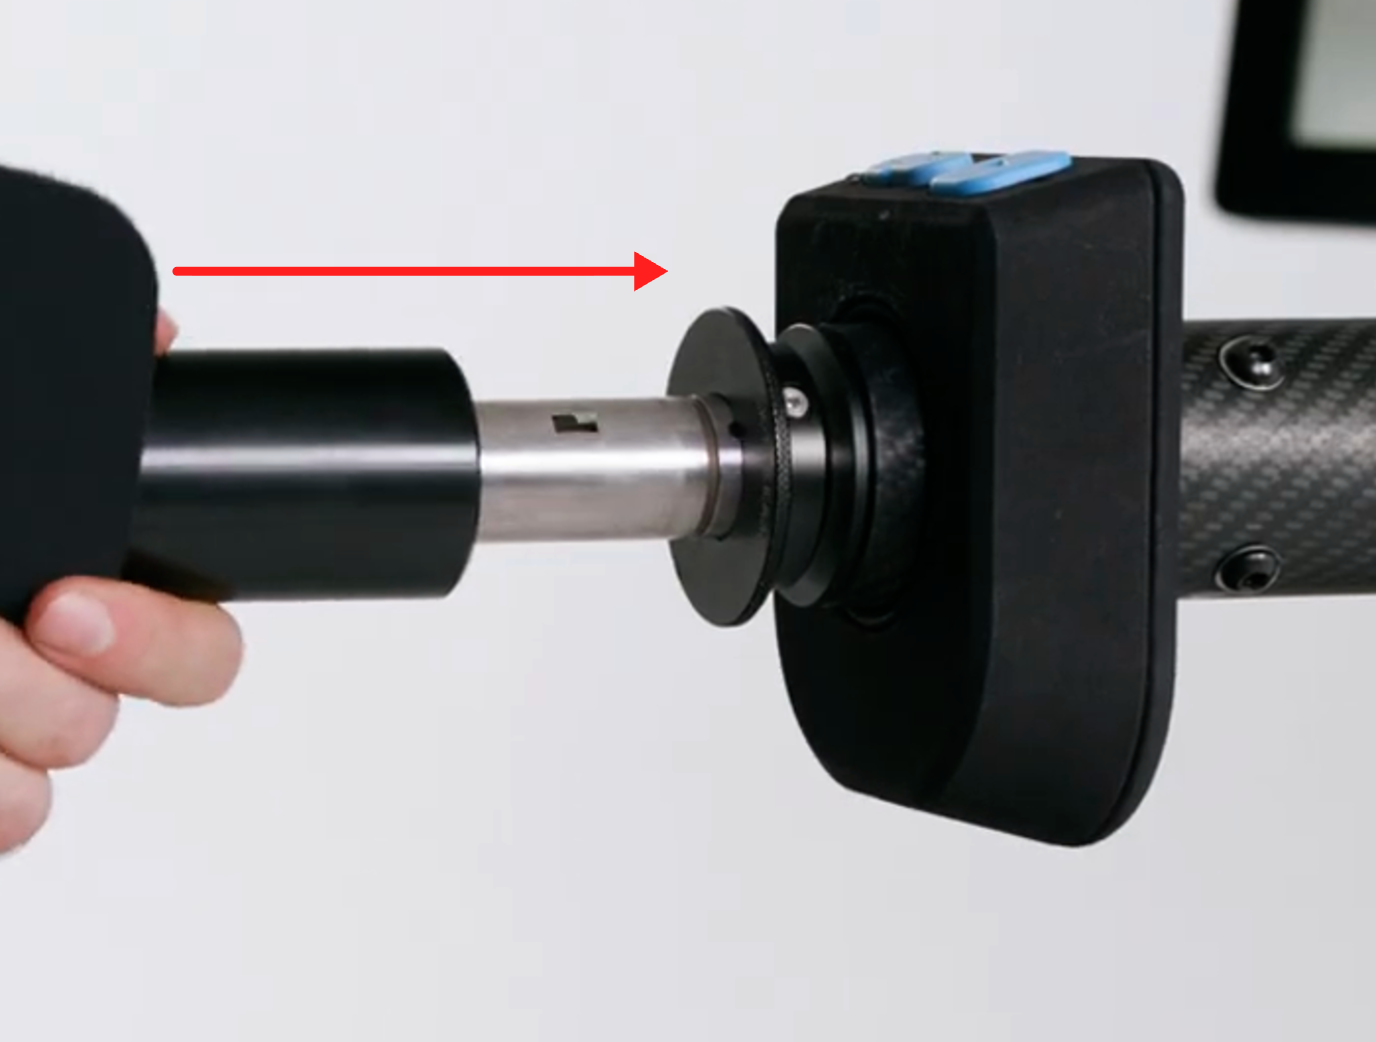
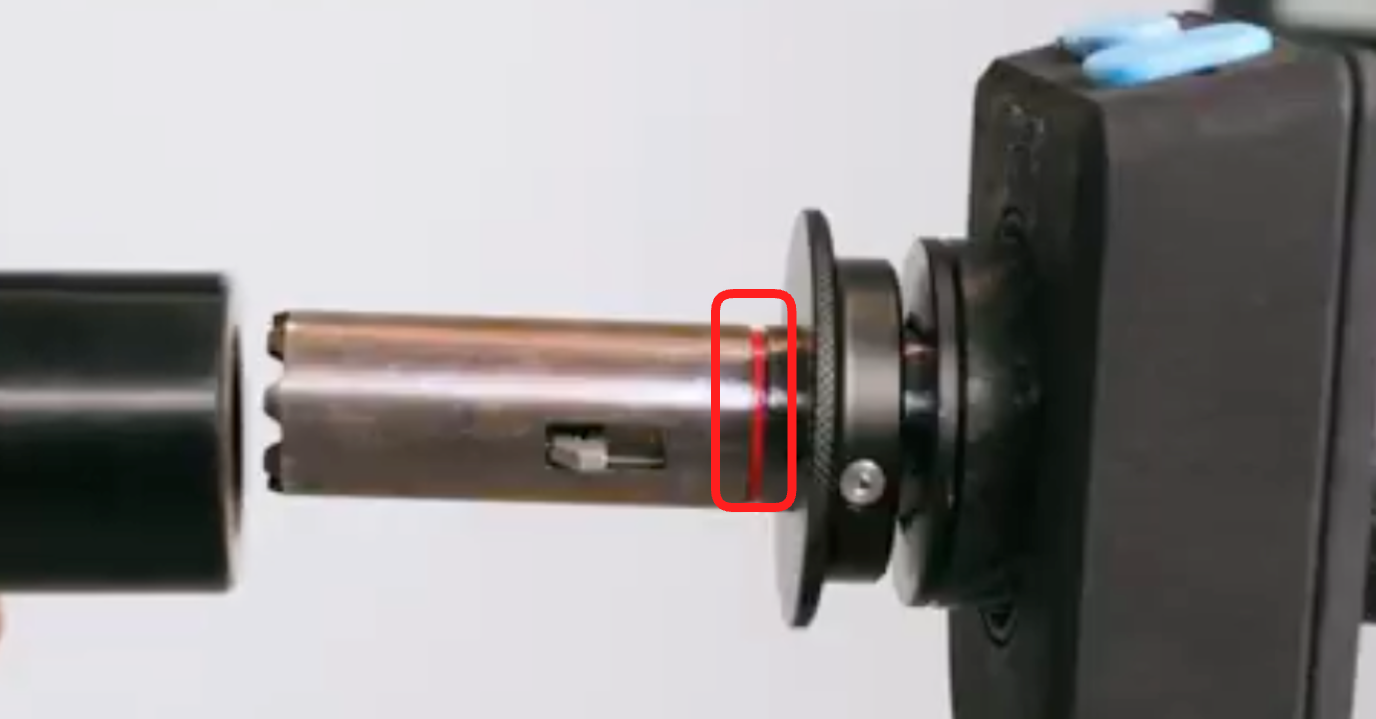 Older machines: the handle does not click on its own. Pull the latch forward, push the handle to the red line, then let the latch go to lock it.
 - You may have to twist the handle a bit in order for it to fully lock.
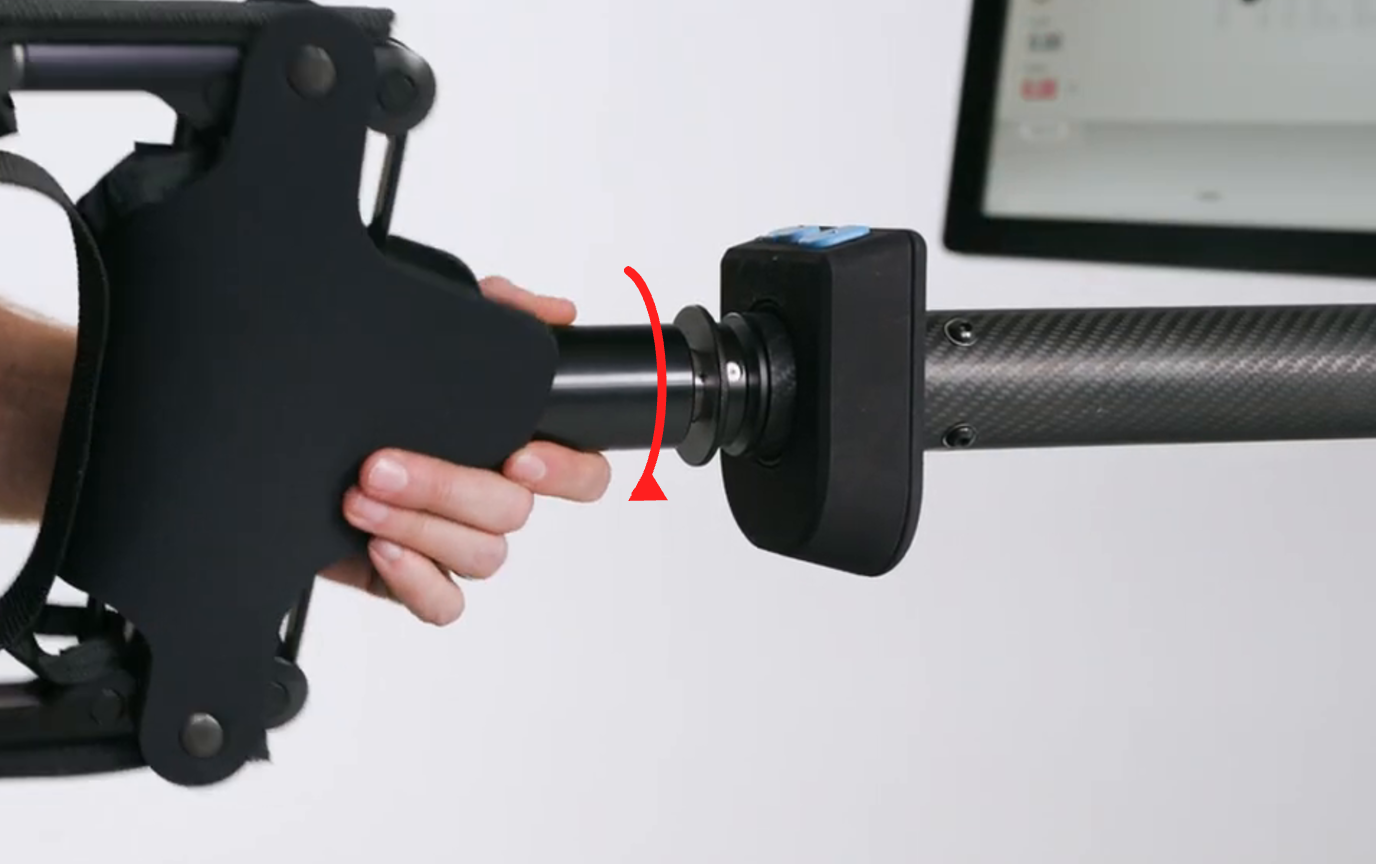
- Before using any handle, check that it is secure. Pull the handle away from the carbon fiber tube, using one hand to pull on the handle and the other to stabilize the carbon fiber tube behind the Bluetooth controller. Do not use the Bluetooth controller to stabilize, as this could damage the controller housing.
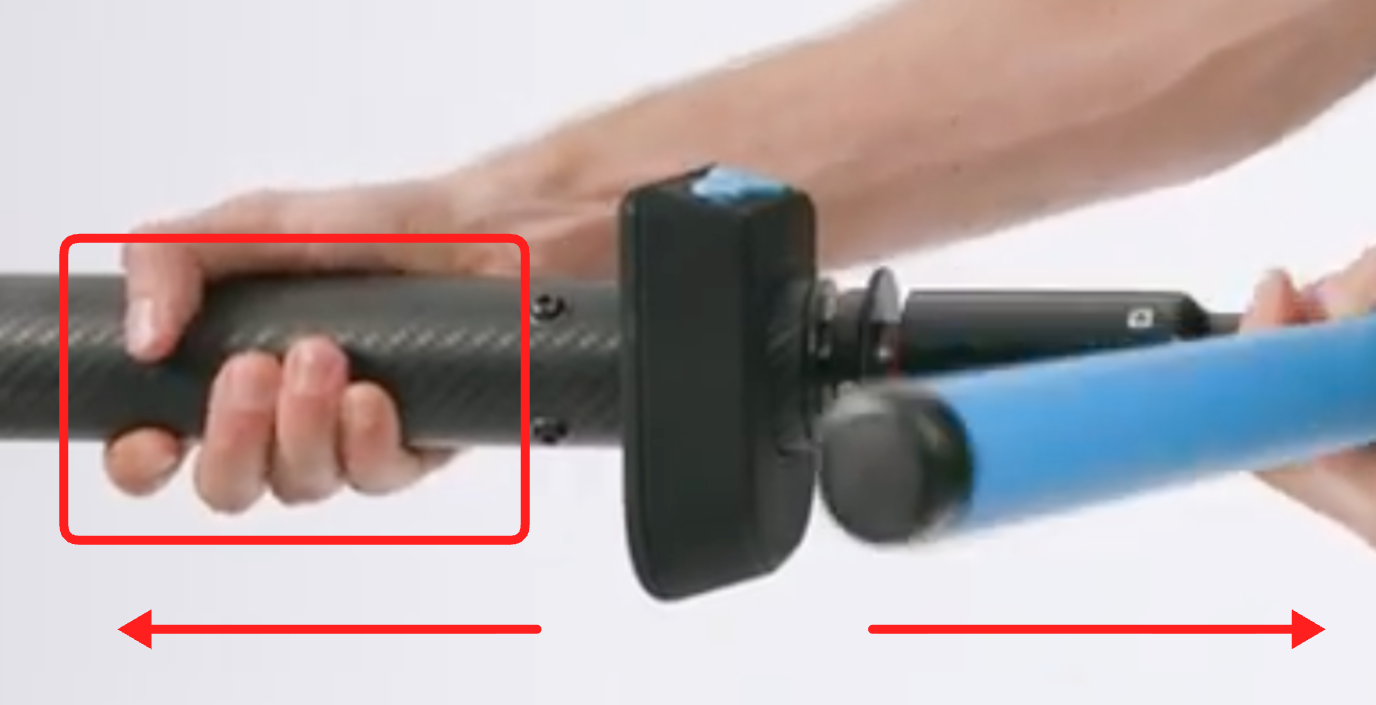
Watch it: Onboarding 004: How to Attach and Remove Proteus Handles (about 40 seconds).
Removing a handle
- Pull the latch forward until it releases.
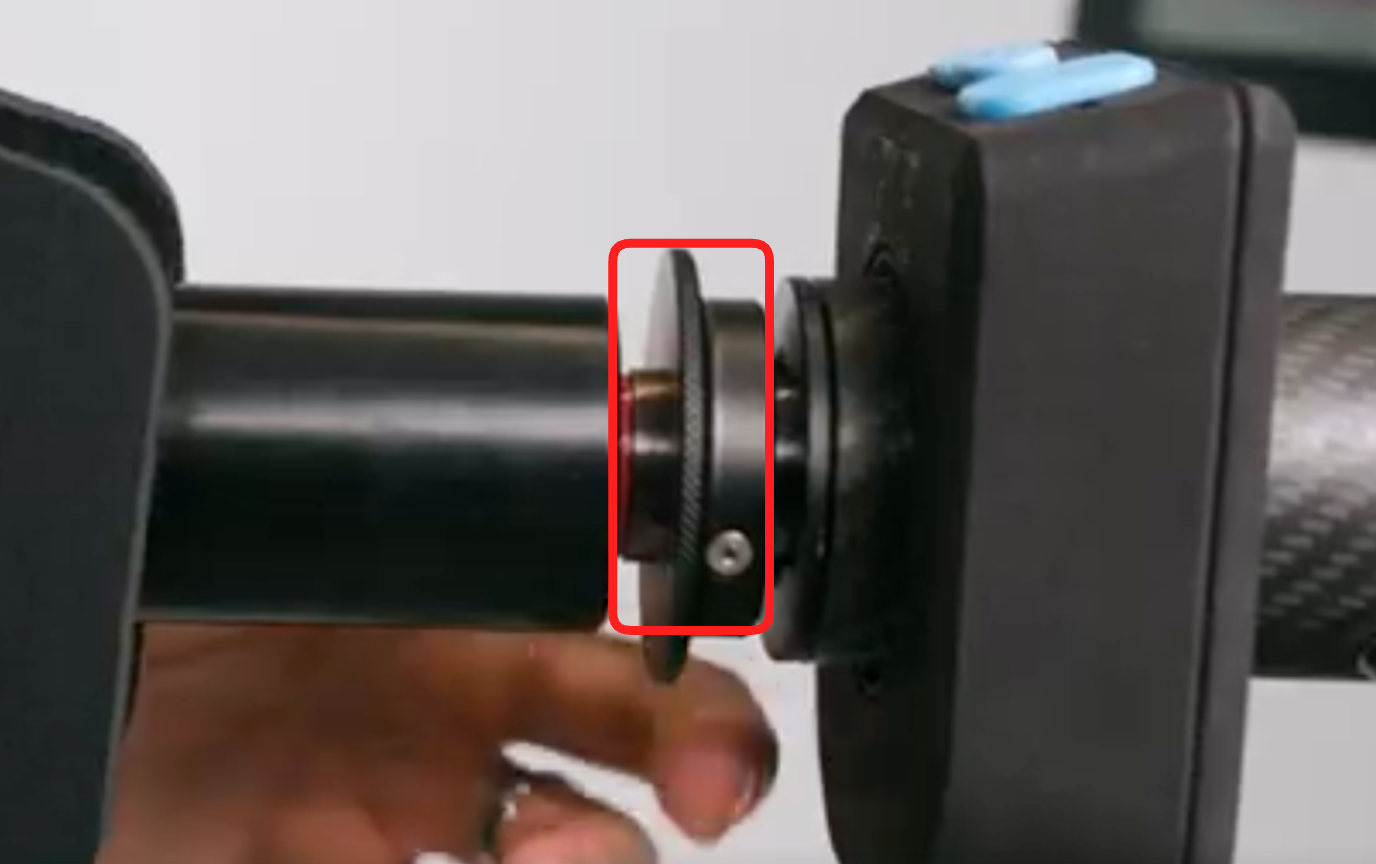
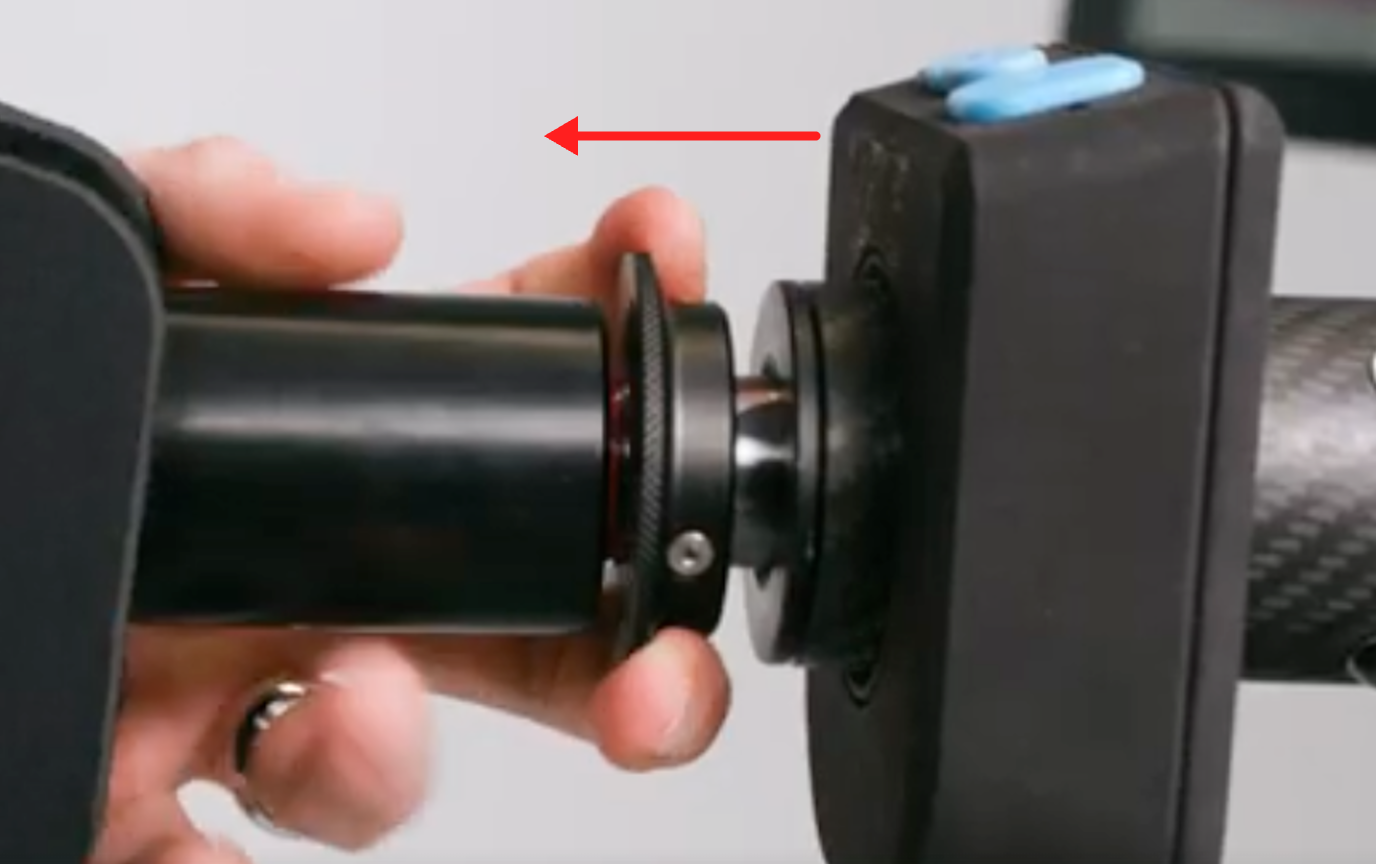
- Hold the carbon fiber tube behind the Bluetooth controller, not the controller itself, and pull the tube and the handle away from each other.
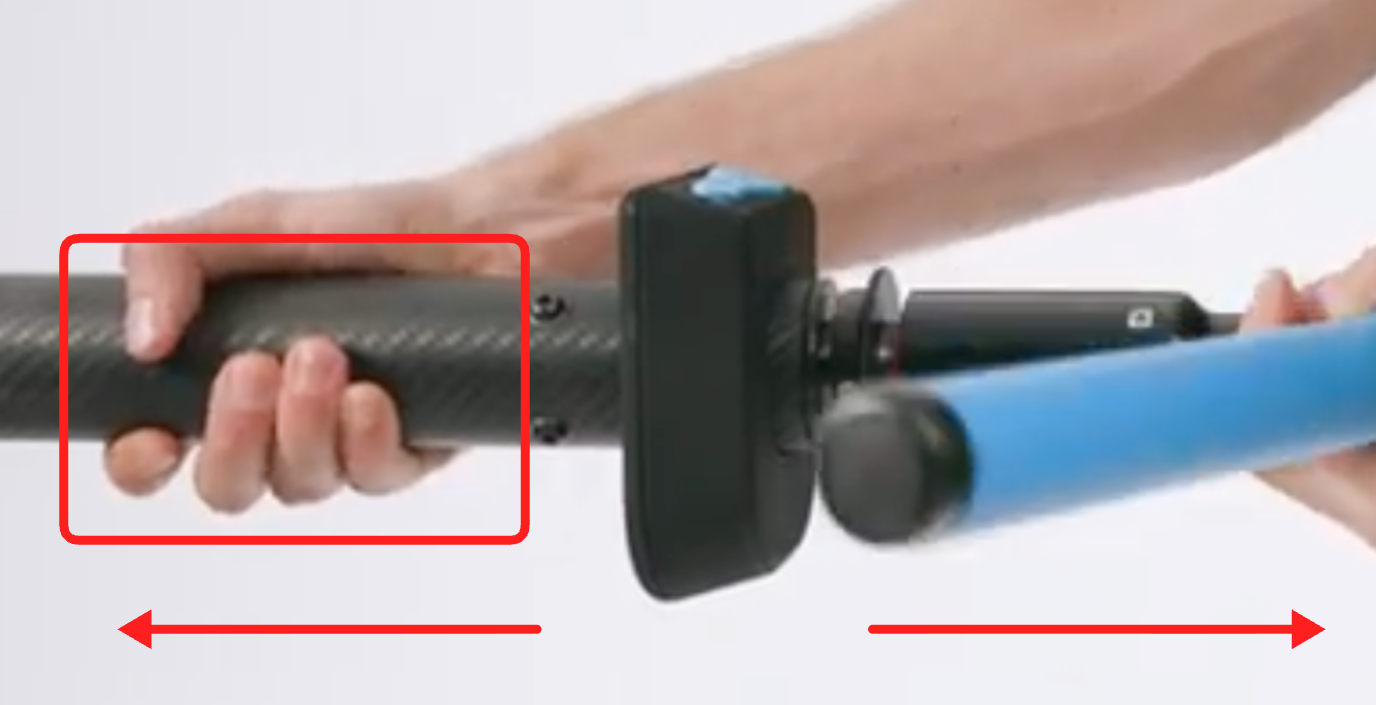
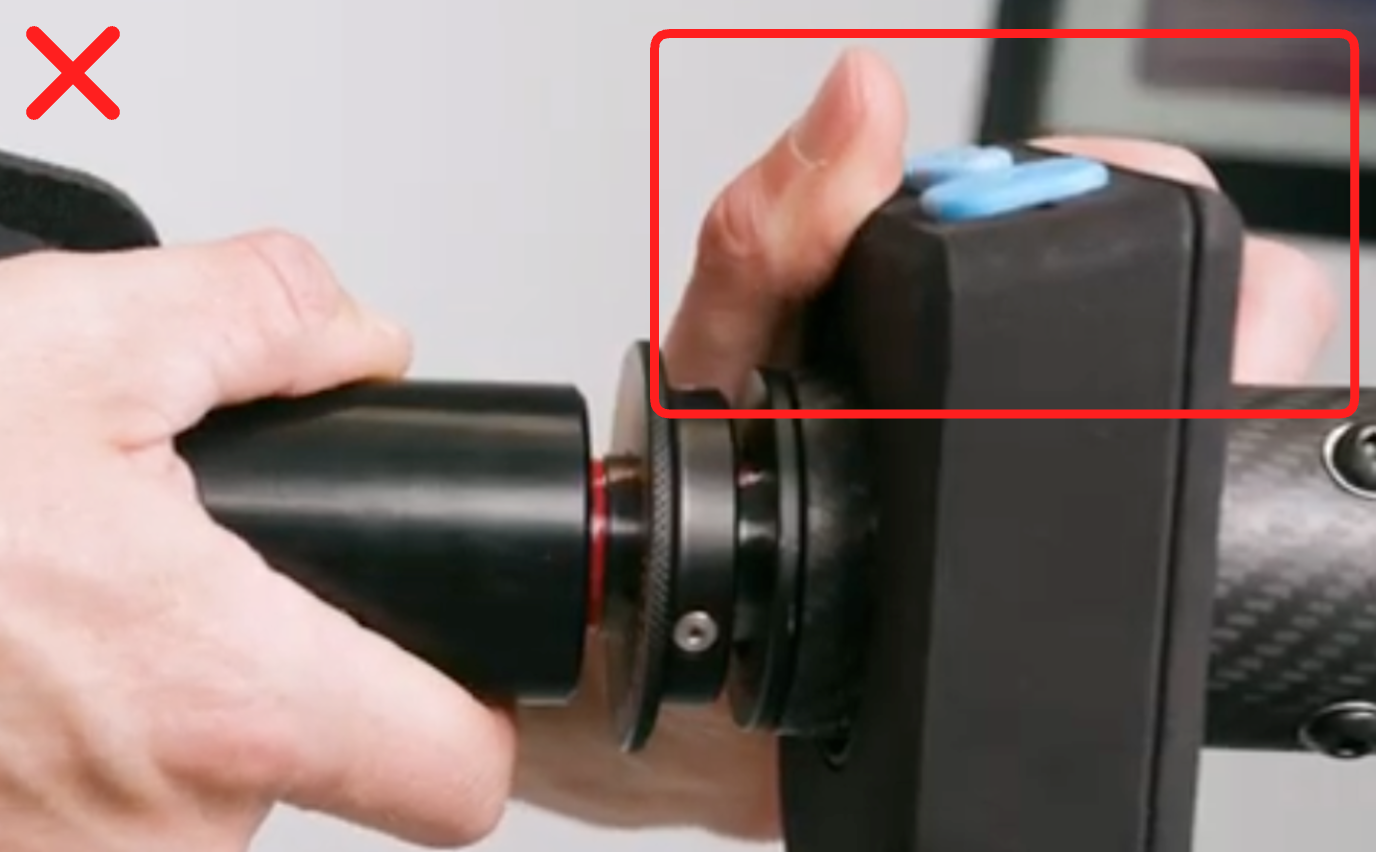 Don't hold the Bluetooth controller.
Still stuck?
If the handle won't lock or won't come off, submit a ticket. Include a close-up photo of the interface with the handle off, a photo of the latch, and if you can catch it, a 10-second video of the handle coming off. Submit a ticket at support.proteusmotion.com or scan the QR code under Help Resources on the machine.
Have the older Quick Connect?
On older machines the handle does not click on its own. Pull the latch forward, push the handle to the red line, then let the latch go to lock it. Everything else on this page is the same. To see it done, watch Onboarding 003: How to Attach and Remove Proteus Handles.